
ArkOS on the R36S is the setup most owners should aim for because this handheld sits on the older but still well-supported RK3326 platform, and the current community image has matured into a much cleaner path than the random card-and-firmware bundle many people start with.
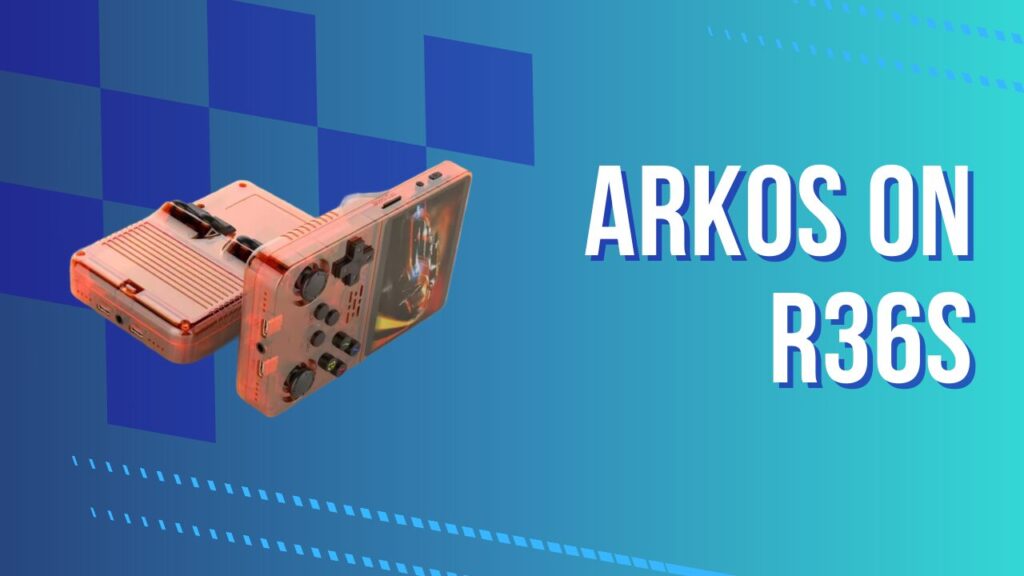
If you want a simple version, here it is: use a good microSD card, flash the correct ArkOS image, let the first boot finish completely, then sort out your panel and ROM storage without rushing it. I have learned the hard way that most “ArkOS is broken” moments are really “I skipped one boring step and the handheld took revenge.”
The first snag is that a successful flash can still look like a dead handheld. That happens when the image is fine, the card is fine, but the panel profile is wrong, so the device boots into what looks like nothing. I now treat the first boot like a cooking timer, not a guessing game, because touching buttons too early creates fake problems that are annoying to untangle later.
KEY TAKEAWAYS
- The safest default build for most genuine R36S units is the AeolusUX ArkOS-R3XS multipanel image because it supports multiple screen panels from one main image.
- Panel selection now uses Panel Picker Mode, which maps R1 plus a direction or A during boot to a saved panel profile.
- Dual-card storage is built into ArkOS through the Advanced menu, so you can keep the operating system on one card and ROMs on another.
- AmberELEC is now more of a legacy fallback than a first choice because it is no longer actively developed for this hardware family.
Why ArkOS is worth installing on the r36s
ArkOS on the R36S is worth installing because the device belongs to a mature RK3326 ecosystem with established custom firmware paths, emulator tuning knowledge, and a broad support trail that newer budget handhelds often lack. That matters in practice, because you are not trying to force an experimental operating system onto weird hardware, you are stepping into a setup lane that already exists.
ArkOS also solves the biggest real-world R36S pain points, which are storage workflow, screen compatibility, and a more flexible frontend-emulator stack. The community R3XS image now supports multiple screen panels and gives you a built-in Panel Picker Mode instead of making you hunt for a different image every time your display panel turns out to be the awkward one. That single change removes a lot of the old “why is my screen white or black after flashing?” panic.
ArkOS is also the better choice if you actually plan to use the device rather than just admire it for two days. RetroArch, PPSSPP, and PortMaster all fit naturally into the way power users end up treating the R36S, which is as a cheap little emulation project box that can punch above its price if you set it up properly. The handheld is still a budget machine, so no firmware can turn it into a miracle, but a smart ArkOS setup gets you much closer to the ceiling.
What you need before you flash
A clean ArkOS install starts with boring hardware prep. Use a reliable microSD card for the operating system, use a second card for ROMs if you want the least painful long-term setup, and keep a reader handy that does not randomly disconnect halfway through a write.
The image choice matters before anything else. For most genuine R36S units, the best starting point is the AeolusUX ArkOS-R3XS multipanel image, which is explicitly maintained for the R33S, R35S, R36S, and R36H family. If your device turns out to be a K36 style clone masquerading as an R36S, the old clone branch was sunset in 2025 and handed off toward a separate continuation path, so clone owners need to be more careful and should not assume that every R36S-labelled guide applies cleanly.
Screen identification is the second thing that matters. AeolusUX maintains a separate R36S-DTB repository because newer batches introduced multiple updated screens and additional panel files over time, which is exactly why blindly flashing “whatever image I found first” still goes wrong for people. In plain English, the device name on the shell is not enough, the panel inside the shell matters.
Storage planning is the third thing that saves headaches later. If you already know you want a large ROM library, set your mind on a dual-card layout now, because ArkOS already includes the workflow to switch ROM storage to SD2 from the Advanced menu. I always recommend doing this early, because reorganising your library after you have scraped art, copied BIOS files, and customised menus is a nuisance.
The bundled card is often the weakest part of the whole device. A bad stock card can finish a flash, boot once, and then quietly corrupt saves or settings a day later, which makes users blame ArkOS when the storage is the actual villain. I swap the card before I even begin now, because chasing random corruption is a terrible use of a Sunday.
Before you move on, this is the right place to send readers deeper into your own ecosystem. If someone still needs the hardware overview first, link to this hardware-first R36S review that explains what the console gets right, what it cuts, and why firmware matters so much on this device. If they are replacing the awful bundled storage, point them to this SD card guide that helps readers replace the failure-prone bundled media with cards that are actually worth trusting.
How to install ArkOS on the R36S
A safe ArkOS installation on the R36S follows a simple order: back up anything you care about, flash the image, let first boot finish, then deal with panel selection and ROM storage. That order matters because the current R3XS image performs its initial setup on first boot and specifically warns you not to jump into Panel Picker Mode immediately.
Back up the stock card and identify your panel
The stock card backup matters because it gives you a recovery path and, in some cases, the easiest way to inspect what screen-related files shipped with your device. If you still have the stock SD card files, you can use them as a point of reference when you need to work out which panel family your unit belongs to.
The panel workflow matters because the modern multipanel image does not work by magic, it works by applying the correct panel profile. Panel Picker Mode uses R1 plus one button during power-on, with UP for Panel 1, RIGHT for Panel 2, DOWN for Panel 3, LEFT for Panel 4, and A for the original stock panel. If you choose the wrong one, the handheld can look dead even though the flash itself is fine.
The sneaky problem is that users often test three fixes at once, then cannot tell which one changed the outcome. If your screen is black after a flash, do not reflash, swap cards, and start mashing panel combos in the same ten-minute burst. I got cleaner results once I forced myself to change one variable at a time, because this handheld punishes chaos.
Flash the image and complete first boot
The flash step is straightforward, but impatience ruins it. Write the image with a standard tool such as Balena Etcher or Win32DiskImager, insert the card, boot the handheld, and then let the first setup process complete before you start trying button combos, menu tweaks, or shutdown tests.
The first boot can take longer than people expect. Initial setup can run for several minutes, and that delay is long enough to make new owners think the unit has frozen when it is actually finishing partitioning and setup tasks in the background. That is why I tell people to put the device down, make tea, and come back when the machine has had a fair chance to finish.
The panel-selection step comes immediately after a successful first setup if the display still is not right. Power the unit off, hold R1 plus the correct panel button while turning it back on, wait a few seconds for the system to apply the setting and power off, then boot normally. If you need to disable Panel Picker Mode later, use the documented disable combo rather than guessing your way through it.
Panel selection is not just a front-end toggle, it changes low-level display behaviour early in boot, which is why the right combo fixes a blank screen while random emulator tweaks do absolutely nothing. The first time I realised that, half the setup process suddenly made more sense.
Move ROM storage to a second card
Dual-card storage is one of the best quality-of-life upgrades in ArkOS. The built-in process is simple: insert a blank second microSD card, go to Options, then Advanced, then Switch to SD2 for ROMs, and let ArkOS populate the folder structure.
ArkOS can also read from both cards after setup. That gives you a cleaner way to split your main library from overflow storage, test sets, or larger disc-based systems that would otherwise crowd your OS card. It is one of those small features that makes the handheld feel much less cheap in daily use.
If you copy ROMs to the second card before ArkOS has created its own structure, you can end up with a card full of almost-correct folders that the frontend simply ignores. I now run the SD2 switch first, let the system write the expected folders, and only then move games over.
| Symptom | Likely cause | Best next move |
|---|---|---|
| Black screen after flash | Wrong panel profile | Let first boot finish, then retry the correct Panel Picker combination |
| Boots once, then starts acting weird | Weak or corrupt microSD card | Reflash to a known good branded card before changing anything else |
| ROM folders missing on SD2 | Switched cards before ArkOS created the structure | Run the SD2 setup script again, then recopy ROMs into the generated folders |
| Games show but saves vanish | Card corruption or unsafe shutdowns | Replace the card, reflash, and test with a small library first |
| Device will not find games from both cards | Dual-card read option not enabled | Turn on the read-from-both-cards option after SD2 setup |
ROM and BIOS organisation matters more than people think. If you want a separate walkthrough for file placement after the firmware side is done, insert this ROM transfer guide that shows where game files and BIOS folders belong after your ArkOS install is finished. If the device is completely new to the reader, pair it with this clean-start R36S setup walkthrough for first boot, menu basics, and the small mistakes that usually cause confusion on day one.
Best ArkOS builds for the R36S right now
The best build for most readers is the ArkOS-R3XS multipanel image. It is community maintained, supports the main R3XS family including the R36S, and bakes panel selection directly into the boot workflow, which is the single biggest practical improvement for current installs. This is the build I would put at the top of the page, full stop.
The best build for clone hardware is not always the same build, and that is where many guides get sloppy. The old ArkOS-K36 project explicitly covered K36 and similar clone devices, including R36S clone style units, but that repository was sunset and archived in 2025, with a continuation notice pointing users toward a newer community path. In practical terms, if a reader has a clone, your advice should be “identify the hardware first” rather than “flash the genuine R36S image and hope.”
The best fallback is usually not AmberELEC. AmberELEC can run on the R36S because of the shared chipset lineage, but it is not the cleanest current recommendation and it misses the momentum that keeps ArkOS attractive for active tinkerers. That makes it fine for experimenting, not ideal as the default recommendation in a current guide.
Essential ArkOS configuration after install
RetroArch configuration matters because ArkOS becomes much better after the first fifteen minutes of housekeeping. Set global hotkeys, check aspect ratio behaviour per system, test audio latency, and only then start changing emulator cores. The biggest mistake is changing six things at once and having no clue which one caused the problem.
PPSSPP tuning matters because PSP is where the RK3326 ceiling becomes obvious. Use PPSSPP as your honesty test: if your expectations are sensible and your settings are conservative, you can get a lot of value from the handheld, but if you expect every 3D system to run like native hardware, you bought the wrong toy. I usually tune PSP after everything else, because it tells me whether I am optimising or just fiddling.
A lot of people tweak RetroArch, then PPSSPP, then per-game overrides, and later forget that they stacked three separate layers of changes on top of each other. I keep one small note with every big tweak now, because it is amazing how fast a “quick test” becomes a mystery.
PortMaster matters if you want the R36S to feel like more than a retro archive. It also exposes one practical truth about the device: native ports eat storage faster than most 8-bit and 16-bit libraries, so your card plan matters more once you move beyond classic console ROMs. That active-maintenance feeling is exactly why ArkOS stays ahead of legacy alternatives.
Common problems and fast fixes
A black or blank screen after flashing usually points to panel mismatch, not a failed install. The current multipanel image exists precisely because the device family now spans multiple panel types, and the panel picker button map is the intended fix path. Start there before you reflash three more cards like an angry wizard.
A messy library usually points to storage workflow, not missing emulator power. ArkOS already supports moving ROM storage to SD2 and reading from both cards in the proper setup flow, so sort your card structure first before you begin blaming RetroArch.
A bad long-term experience usually points to cheap media. I know this sounds dull, but firmware guides live or die on card quality, because even a perfect image becomes useless when a bargain-bin card decides that today is the day it forgets your partition table.
A clone-related headache usually points to mistaken identity. If the device is actually a K36 family clone, treat it like clone hardware from the start, because the genuine R36S advice lane and the clone-firmware lane split much earlier than most short tutorials admit.
Final verdict
ArkOS on the R36S is still the best move for most owners because the modern community image is built around the real problems people hit on this handheld: panel variation, storage setup, and practical usability. The smart path is simple, use the right build, let first boot finish, pick the correct panel, move ROMs to a second card, and only then start tweaking RetroArch, PPSSPP, and PortMaster. If you keep that order, arkos r36s stops feeling like a forum puzzle and starts feeling like the inexpensive little emulation machine it always should have been.
