
The R36S is cheap, cheerful, and just fiddly enough to punish a rushed setup. This r36s setup guide is built for the person who just opened the box, wants to avoid stock-card drama, and would rather spend tonight playing than reflashing the same image three times. The core idea is simple: replace weak storage, install a clean ArkOS image, match the correct DTB or screen profile, then move your ROMs and BIOS files into a layout that will not implode on day two.
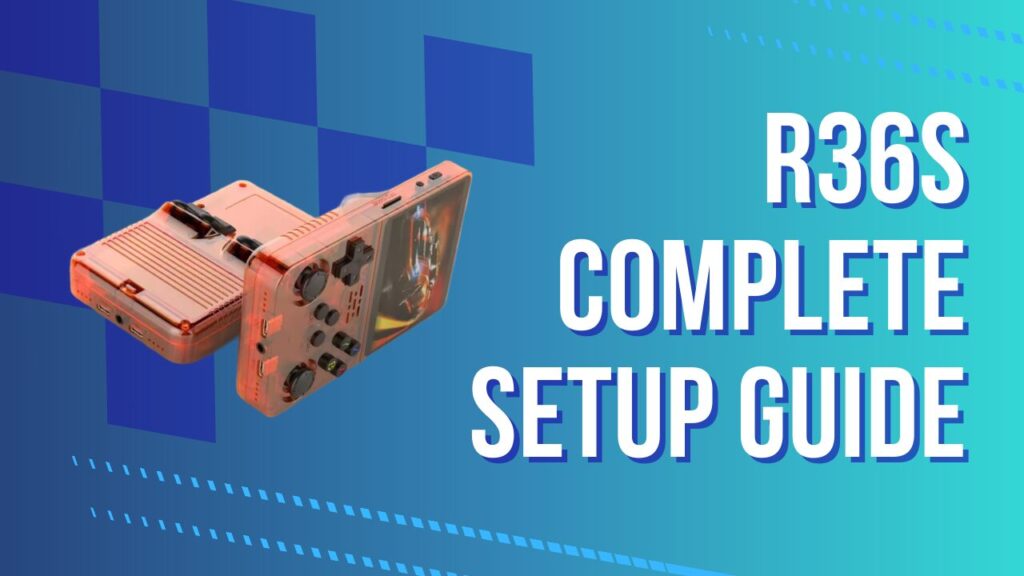
The R36S sits in the budget Linux handheld lane, so the workflow feels closer to setting up a tiny retro gaming PC than opening a polished mainstream console. That is why first boot behavior, partitions, boot files, and emulator menus matter here. I have seen more time lost to mystery black screens and bad cards than to the actual flashing process.
KEY TAKEAWAYS
- The first smart move in any r36s setup is replacing the included microSD card, because the stock card is usually the weakest part of the whole package.
- ArkOS is the easiest clean-start path for most owners, and it works well with both single-card and dual-card layouts.
- DTB files matter more than beginners expect, because the wrong screen file can leave you with a black screen even when the firmware flash itself worked.
- A normal first boot can take a few minutes while the system expands storage and finishes setup.
- A stable setup depends on three boring choices that save you later: branded storage, proper shutdown, and tidy ROM and BIOS organization.
Why the stock experience goes wrong fast
The bundled storage is the main weak point in the out-of-box experience. The device can boot fine on day one, which tricks a lot of people into thinking the included card is acceptable, then start acting strange once saves, settings, and partition changes begin stacking up. That delayed failure pattern is what makes the stock card so annoying, because it pretends to be good just long enough to waste your time.
The operating system situation also trips up beginners because the R36S often arrives with a workable build that is not the cleanest long-term starting point. That is why fresh setup guides lean toward a clean ArkOS flash instead of endless tweaking on top of whatever shipped in the box. If you want the broader hardware context before you decide how far to optimize it, read this hands-on review that explains the screen, controls, and realistic performance ceiling and then come back to firmware with sensible expectations.
Clone variance is the third hidden problem because not every device sold as an R36S behaves exactly the same. Screen panels differ, clone boards exist, and that is why DTB handling shows up so often in setup material. Cheap is fun, but cheap also means the word standardized took the day off.
R36S setup checklist before first boot
The cleanest r36s setup starts with a small pile of boring essentials. You want the handheld, a PC, a card reader, one branded microSD card for the operating system, and ideally a second branded card for games if you plan to use the more flexible dual-card layout. A lot of setup pain disappears the moment you stop trusting the free card and use storage you would actually trust with save files.
The software side is equally straightforward once you stop overthinking it. You need the ArkOS image, an archive tool if the download arrives compressed, and an imaging utility such as Balena Etcher or Rufus to write the image to the card. Some people also keep a backup tool handy so they can preserve the original card before wiping anything, which is not glamorous but is often the most practical insurance policy in the whole process.
The smartest optional step is backing up the original firmware before you begin. That backup gives you a rollback point if you later need stock boot files, original DTB assets, or a sanity check after a failed flash. I rarely enjoy making backups, but I enjoy rebuilding from scratch even less.
Flash ArkOS to a branded microSD card
ArkOS is the default beginner path because most R36S walkthroughs assume you are using it. The basic process is to download the image, extract it if necessary, open Balena Etcher or Rufus, choose the image file, select the correct card, and write the image. It sounds simple because it is simple, right up until you point the writer at the wrong drive.
The part that catches people out is not usually the flashing app, it is the prep around it. A compressed image that was never fully extracted, a card reader that disconnects mid-write, or a rushed click on the wrong USB target can all produce a result that looks successful until the console refuses to boot. I still double-check the drive letter before hitting Flash, because that five-second pause is cheaper than rebuilding a storage drive I just nuked by accident.
Balena Etcher gets recommended a lot because it hides some of the complexity and keeps the workflow clean. Rufus also works well, especially if you are already comfortable with it on Windows. After the image is written, your computer may show multiple partitions or odd labels, which is normal for this kind of Linux handheld image and not a sign that the flash failed.
The boot card goes in TF1, which is the operating system slot. If you plan a dual-card setup, the second card lives in TF2 and becomes your ROM storage after ArkOS switches to external game media. This separation makes later firmware changes much less painful because you can reflash the OS card without touching your full library.
DTB files, screen panels, and clone headaches
DTB files are the small detail that causes the biggest beginner panic on this device. The R36S has shipped with different screen panels and clone variants, so a firmware image can be written correctly and still boot to the wrong display behavior if the device tree file does not match the hardware. That is why so many people end up saying the flash worked, the logo appeared, and then everything went black.
The safest approach is to treat display issues as a hardware-profile problem before you treat them as a total firmware failure. A unit can show the splash screen, seem half alive, or even produce menu sound, then still fail because the panel file is wrong for that board. I have learned to stop blaming ArkOS first and start asking which screen file the device actually expects.
The practical recovery order is simple and worth memorizing. First, let the initial boot finish instead of interrupting it too early, because setup can take several minutes and may reboot as partitions and configuration steps complete. Second, if the system still fails to display properly, recheck the DTB file and replace it with the one that matches your hardware or panel. Third, reflash only after you have ruled out the screen file mismatch, because reflashing the same wrong DTB combination just gives you a cleaner copy of the same problem.
| Symptom | Most likely cause | Best next move |
|---|---|---|
| No logo, no visible boot progress | Bad flash, wrong card, or unreadable boot media | Reflash the OS card, confirm the image file, and test with a known-good branded card |
| Logo appears, then black screen | Wrong DTB or mismatched panel file | Check the BOOT partition and replace the DTB with the correct panel match |
| Black screen, but the system seems alive | Clone panel mismatch or incomplete screen file setup | Verify whether the unit is a clone and test the correct panel-specific boot files |
| First boot hangs longer than expected | Normal setup still running, or card performance is poor | Wait several minutes before interrupting, then retry only if nothing changes |
| Games card not detected after setup | TF2 not enabled yet, or the second card was not initialized properly | Use the ArkOS menu to switch ROM storage to the second SD card, then rebuild the folder structure |
What a normal first boot looks like
The first boot is supposed to look busier and slower than a normal startup. The system may power on, sit longer than expected, build out its storage layout, and restart while ArkOS finishes first-run tasks. If you see signs of life, the correct move is usually to wait instead of poking at buttons like you are defusing a bomb.
The hidden friction here is that the failure window and the normal setup window can look almost identical to a new owner. A slow boot, a pause on the splash screen, or a black screen immediately after the first reboot can still be part of the console sorting itself out, especially on slower cards. I have watched people pull power during the exact minute the device needed to be left alone, then spend the next hour fixing the problem they just created.
A good rule is to give the device several minutes before assuming it is stuck. The real red flags are different: a persistent black screen after enough time, a blinking line that never clears, or no successful transition into the interface. When that happens, check the BOOT partition, confirm the DTB, and only then consider rewriting the card.
Single-card or dual-card, choose your pain wisely
Storage layout is the next big decision because the R36S supports both single-card and dual-card setups. Single-card is simpler on day one because the operating system and your games live together. Dual-card takes a little more setup but pays you back later with easier maintenance and safer library separation.
Dual-card is the smarter long-term choice for most people. It lets you preserve your ROMs and saves if the OS card fails, and it makes firmware experiments much less stressful. If you like tinkering even a little, the two-card layout feels less like extra work and more like basic self-respect.
ArkOS handles the switch through its options menus rather than through some secret ritual. The normal flow is to insert a blank card into TF2, boot the device, head into Options and Advanced, then switch ROM storage to the second card. After that, the games card should show the expected folder structure once you put it back into your computer.
Add ROMs and BIOS files the clean way
ROM management is simple once the card structure exists. Whether you are using the OS card for everything or keeping games on TF2, the main job is dropping each file into the folder that matches its system. The only wrinkle is that some folder names follow original platform naming, so a few systems may not be labeled exactly the way a beginner expects.
BIOS handling matters for systems that expect external firmware files. The common beginner move is to dump everything into random places and hope the frontend sorts it out. The better move is to keep BIOS files organized in the proper directories created by the firmware, because clean placement makes later troubleshooting dramatically less stupid.
Per-game emulator tweaking is useful, but it should come after a clean library import, not before. The R36S can run a wide spread of systems, but some platforms need more core-level adjustment than others. In plain English, do not spend an hour chasing frame rate miracles on a messy card layout.
If you want realistic context on how far this hardware can be pushed before you start micromanaging cores, this buyer-focused review of the device’s strengths and limits is a useful reality check. A setup guide should create stability first, then performance second, because unstable storage makes every emulator setting look guilty.
Safe shutdown, hotkeys, and settings that matter
Safe shutdown is not optional on a Linux handheld, even if the power button tempts you into caveman habits. You should exit through the system menu and shut down properly instead of forcing the device off every time you are done playing. That clean shutdown protects settings, unmounts the card properly, and lowers the odds of corruption.
Exit hotkeys are another tiny habit that keeps the system healthier. Most beginners use the common in-game exit combination to return cleanly to the menu, rather than mashing reset when something lags or a menu feels slow. The key point is simple: leave games through software whenever possible.
Emulator settings deserve restraint during the first week. Default profiles already cover most common systems well enough for initial testing, and random global changes can create weird issues that are hard to trace later. My rule is blunt: only tweak a setting if you can explain what it does before changing it.
Wi-Fi dongles and PortMaster after the basics
Wi-Fi on the R36S is a bolt-on feature, not a built-in one. That means you usually rely on an OTG adapter and a compatible USB Wi-Fi dongle if you want updates, scraping, or extra setup tools. It works, but it is not the kind of polished wireless experience that disappears into the background.
The awkward part is that network behavior can feel inconsistent even when your hardware is technically compatible. Some setups play nicely with a cheap dongle and a 2.4GHz hotspot, then become picky after an update or a fresh reinstall. I have found that basic, boring networking wins here, a simple adapter, a known-good dongle, and a phone hotspot can save more time than trying to force the handheld onto a fussy home setup.
PortMaster is where the machine starts feeling less like a bargain emulator and more like a fun little Linux project. Once your base install is stable, it gives you a cleaner way to manage supported ports and expand what the handheld can do. There is no prize for installing it on a shaky boot card, so get the fundamentals right first.
A no-Wi-Fi workflow still exists if your adapter situation is a mess. You can manually place the relevant files in the right folders and let PortMaster process them from the card structure. That is useful on the R36S because optional network convenience and actual network convenience are not always the same thing.
Mistakes I would avoid on day one
The first mistake is trusting the included card just because the console happened to boot once. A lucky first boot does not make cheap storage reliable. Replace it before it decides to become a personality test.
The second mistake is assuming every black screen means the flash failed. On the R36S, a wrong DTB or panel mismatch can mimic a bad install even when the image writing process itself succeeded. That is why screen identification belongs near the start of the workflow, not buried in troubleshooting at the end.
The third mistake is treating the handheld like a sealed mainstream console instead of a small Linux device. Proper shutdown, organized BIOS placement, and a sensible card layout are not obsessive extras here, they are the setup. Get those basics right and the machine becomes charming instead of chaotic.
Conclusion: r36s setup that stays stable
A good r36s setup is not about squeezing every last menu tweak out of ArkOS on day one. A good setup is about replacing weak storage, flashing a clean image, matching the correct DTB, waiting through first boot, and keeping ROMs, BIOS files, and shutdown habits tidy enough that nothing falls apart next week. Do that, and the R36S stops feeling like a cheap gamble and starts feeling like exactly what it should be: a ridiculously affordable retro handheld that works.
